Radio Modifications
For whatever reason, I prefer to have a stock looking stereo head unit in my explorer. I don't really need a super loud or fancy stereo, nor the attention (good or bad) it attracts. I also am concerned about theft. It is quite rare when a theif wants a factory stereo.
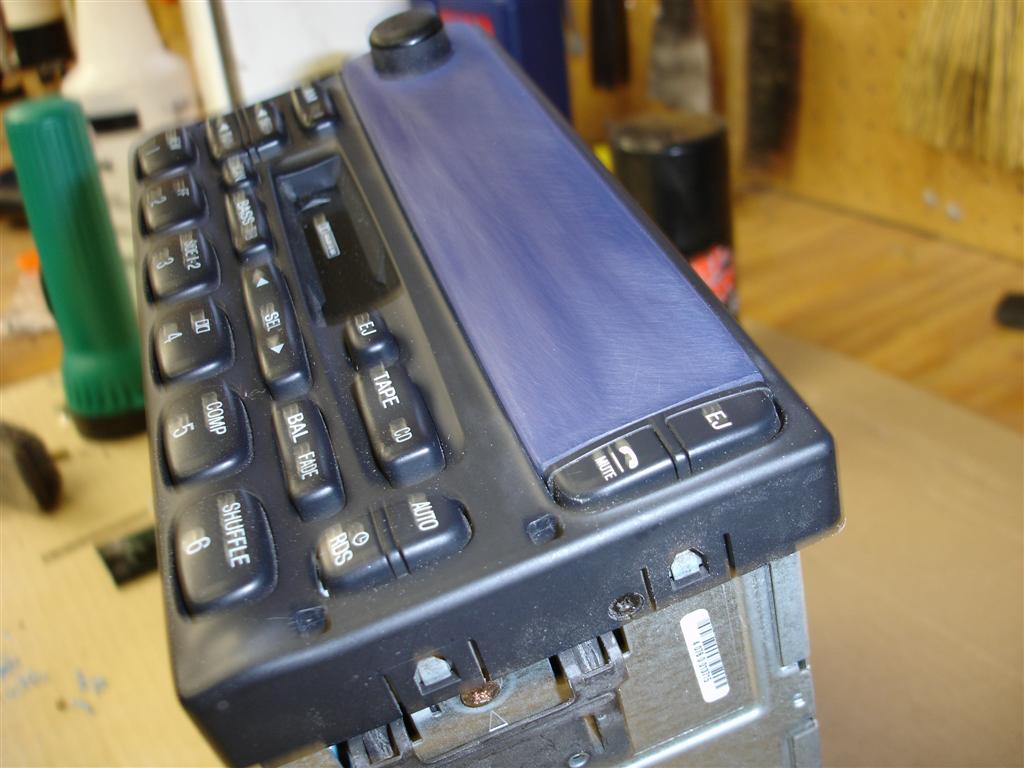
Ok, so I have decided on a head unit. Not a hard choice given my criteria. The stock head unit that came in my explorer did not have a sub channel. It was a basic AM/FM/Tape/CD unit. I figured that if I was going to have a stock head unit, then I would try to get the best one available. I had an opportunity to get a stock MACH head unit for free. It has a sub channel for a factory subwoofer. The unit's display was broken, so you could never know what radio station was on, or what you were doing. I was able to repair this unit for just the cost of a few soldering supplies that I didn't have on hand. I also repaired another MACH head unit with the same method, and both are running strong one year later. It is a reliable fix and you can do it yourself. I will write a small article on that fix later and link it here.
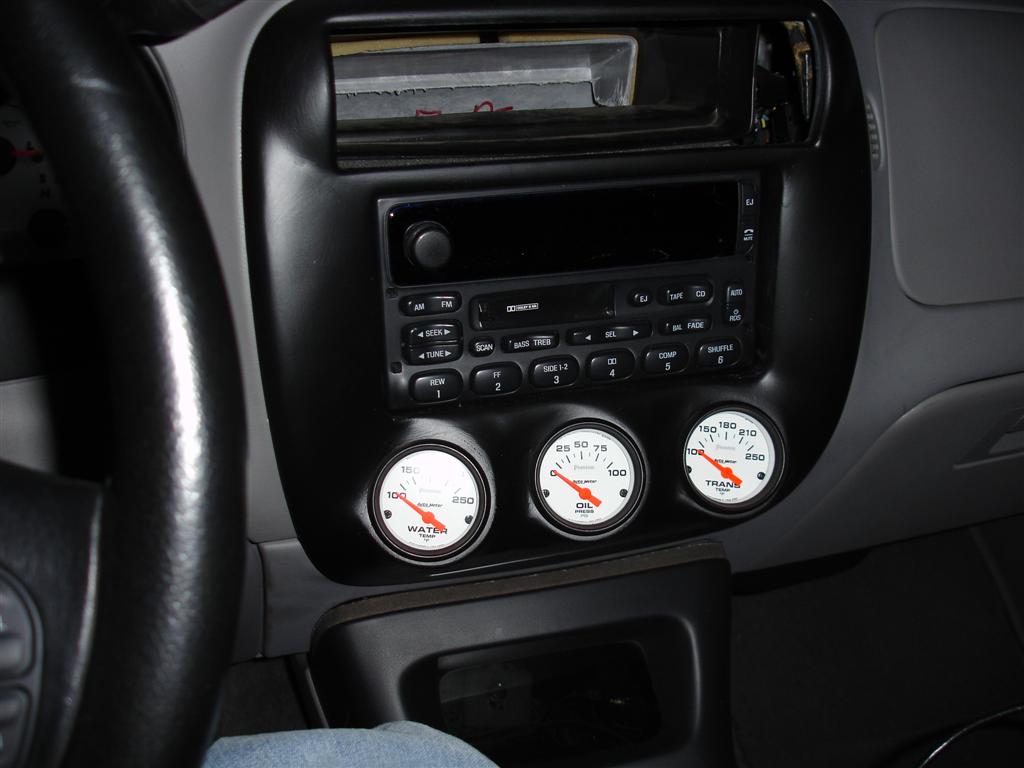
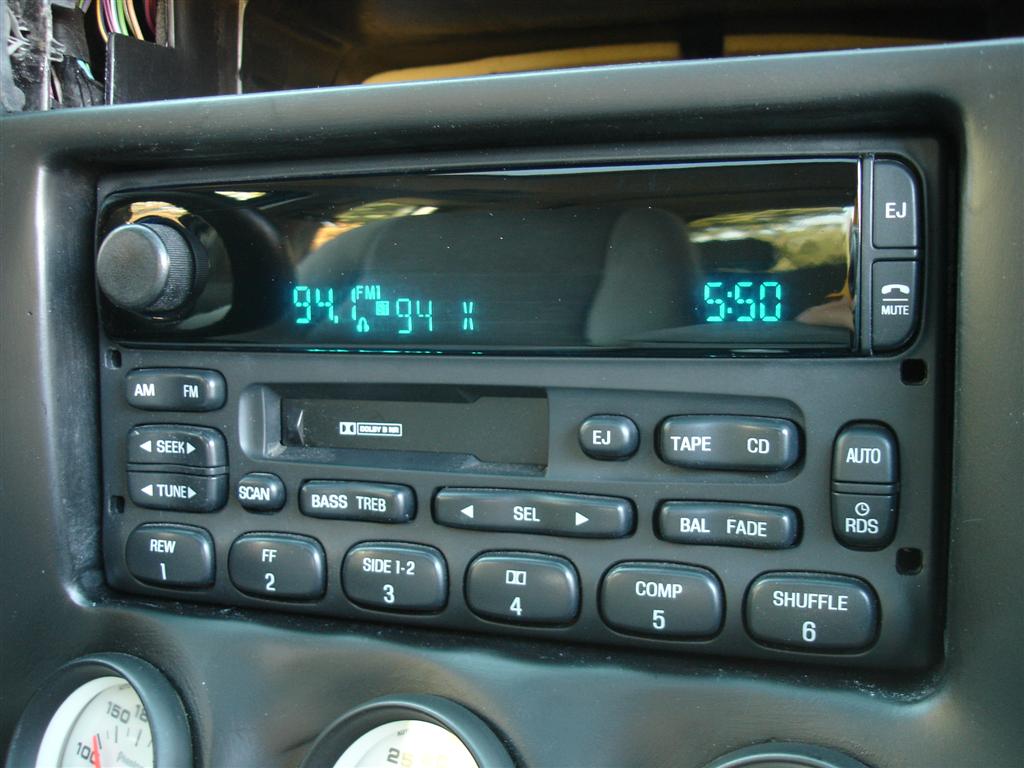
This is what I ended up with, so if you are interested in learning how to make your head unit look like this, just keep reading.
Day:
Night:
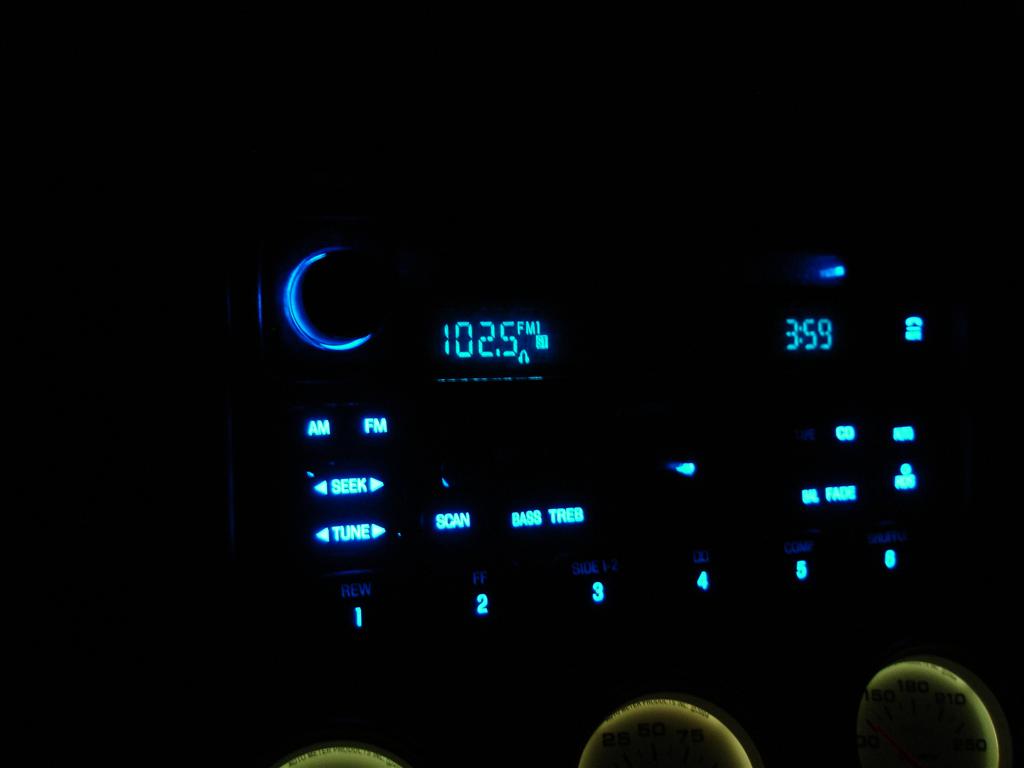
Blue LED conversion
After I had the unit working, I was fine with it for a while. After I started converting some of my dash lighting to blue, I was faced with the challenge of converting the radio to light up blue also. I tore it apart to see if it was possible. It turns out that there were around 45 SMALL surface mount leds inside the radio to illuminate all the buttons. I sourced out the blue leds on ebay and within an hour and a half of receiving them, I had all the buttons lighting up blue. Ebay link
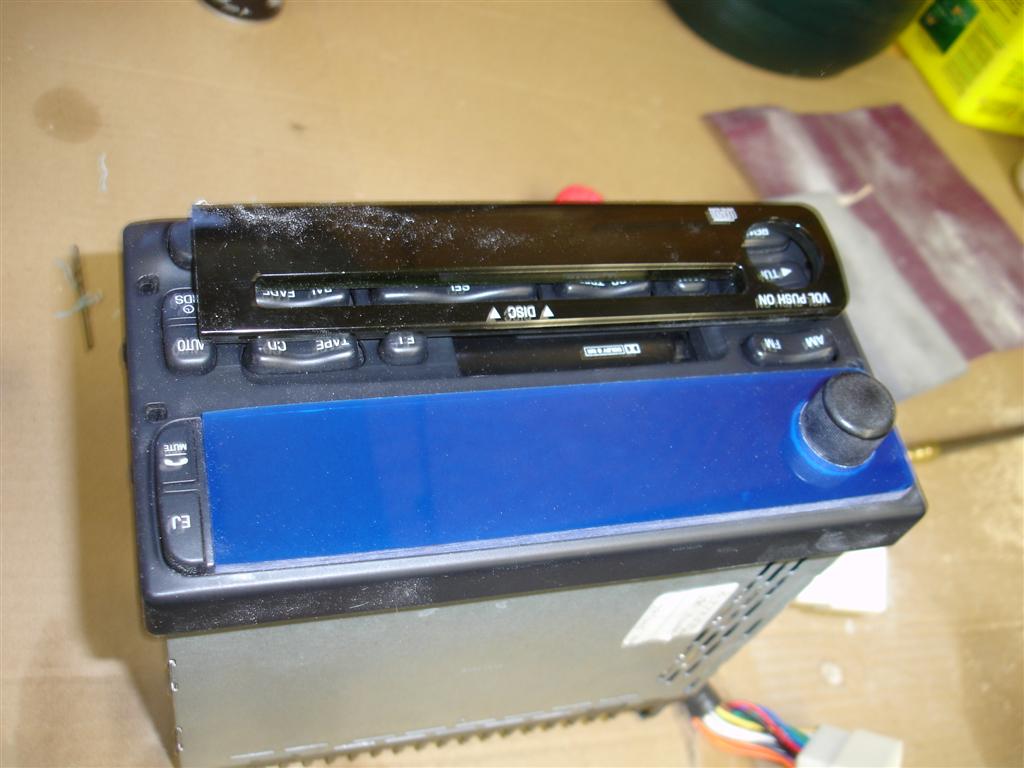
Lens fabrication
After getting the buttons to lite up blue, I was faced with the challenge of making the display turn blue. With the lens removed, I noticed that the raw display color was a mostly white with a little blue/green tint to it. I also noticed that the stock lens had a greenish tint to it, but was also smoked for a dark look. I thought back to when I tinted my tail lamps and wondered if the same concept could be applied on my radio. I ordered some 1/4" thick blue transparent plexiglass from an online retailer. Once it arrived, I cut a small piece and started testing. I sprayed a little VHT Niteshades over the plexi, which bade it look black when the radio was off, but when it was on, the display was blue. Success! Now for making a lens the exact shape as the old one.
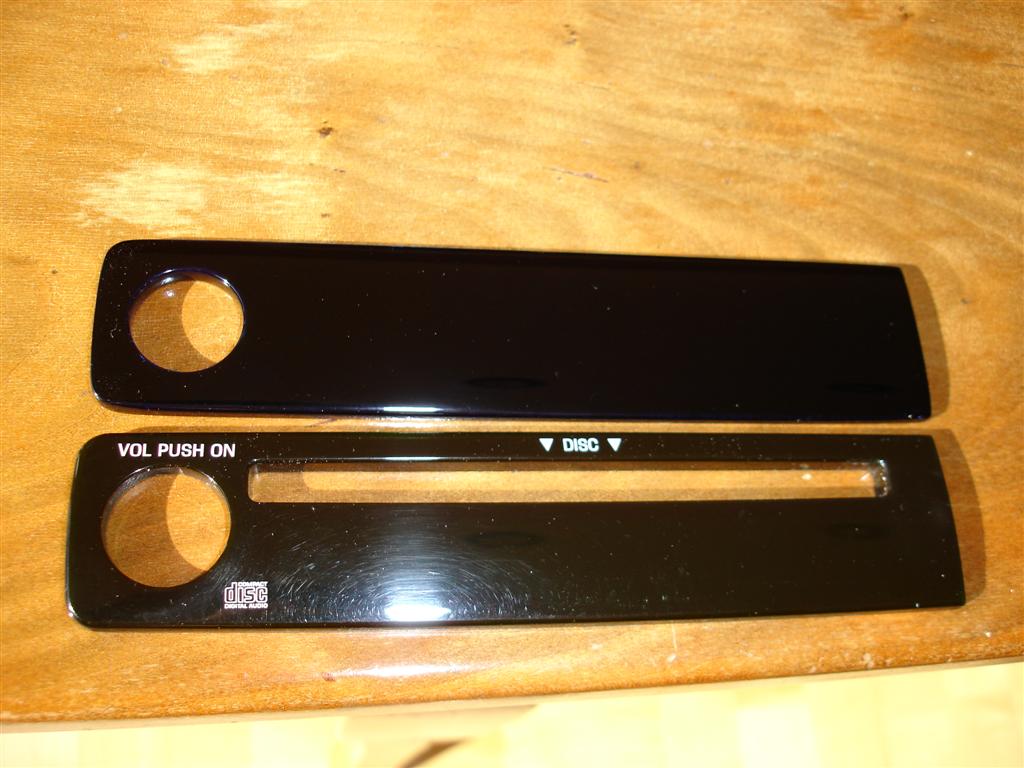
You will notice that I did not bother to cut a slot for the CD player. There are a couple reasons for this. The first reason is that I am lazy and I didn't think I had to tools to make an accurate cut and make it look good. The second reason is that I have an adapter that allows me to hook my ipod to the head unit through the cd changer input. This pretty much eliminates my need for CDs so it didn't seem like it was worth my time to cut the slot.
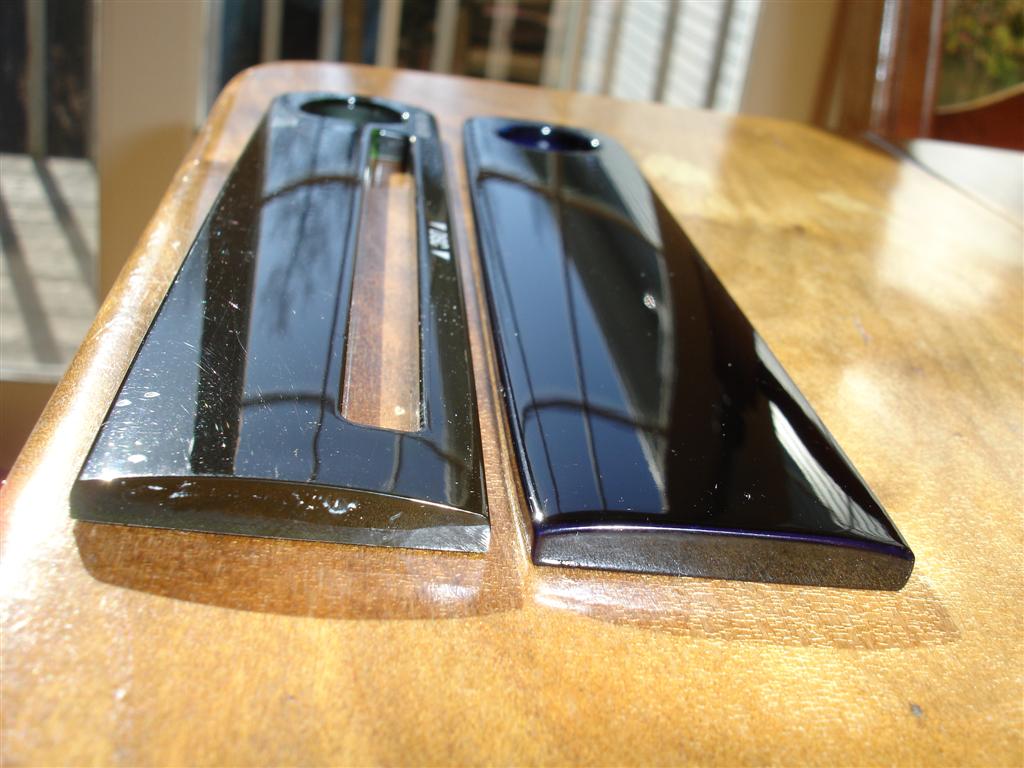
I traced the shape of the stock lens onto my blue plexi and cut it out using a hack saw. I then drilled out the hole for the volume knob
The next step was to sand hte curvature in the lens to match the stock shape. This was done by hand. I had clamped a hard flat sanding board in my vise. It had 80 grit paper on it. I worked the lensback and forth in a straight line. It took a while to get the curve just right, but it was worth it. After getting the shape pretty close, I went to 120 grit, then 320 and then to 600. This is what I ended up with, although I think I ended up doing a little more sanding after this pic was taken.

Now it is time for some paint. I made sure the lens was free of deep sanding scratches by using the 600 grit. I then cleaned the lens thoroughly and used a tack cloth to remove any dust. Then I sprayed a few light coats of VHT Niteshades until I reached the desired darkness. After that dried, I sprayed on some Duplicolor Clearcoat. I let this dry overnight, and the next day I wetsanded the clearcoat with 2000 grit sandpaper. I polished the lens by hand using Meguiars car polish. It had a show quality finish once I got through with it.
To install the lens, I used some double sided carpet tape from a hardware store. From the factory, the lens was held in with a thin double sided tape of sorts, so white carpet tape was a good substitute. After I installed it, I was able to admire my hard work.